I originally saw something similar to this on pinterest so I decided to give it a try myself. In our kitchen we have a couple of those little square Ikea mirrors and they desperately needed some character. Here's what I did...
I took the in-progress photos with my iPhone, so the quality isn't that great but you get the idea!
1. First, I started with the mirror, which was originally a dark brown color, but I spray painted it black.
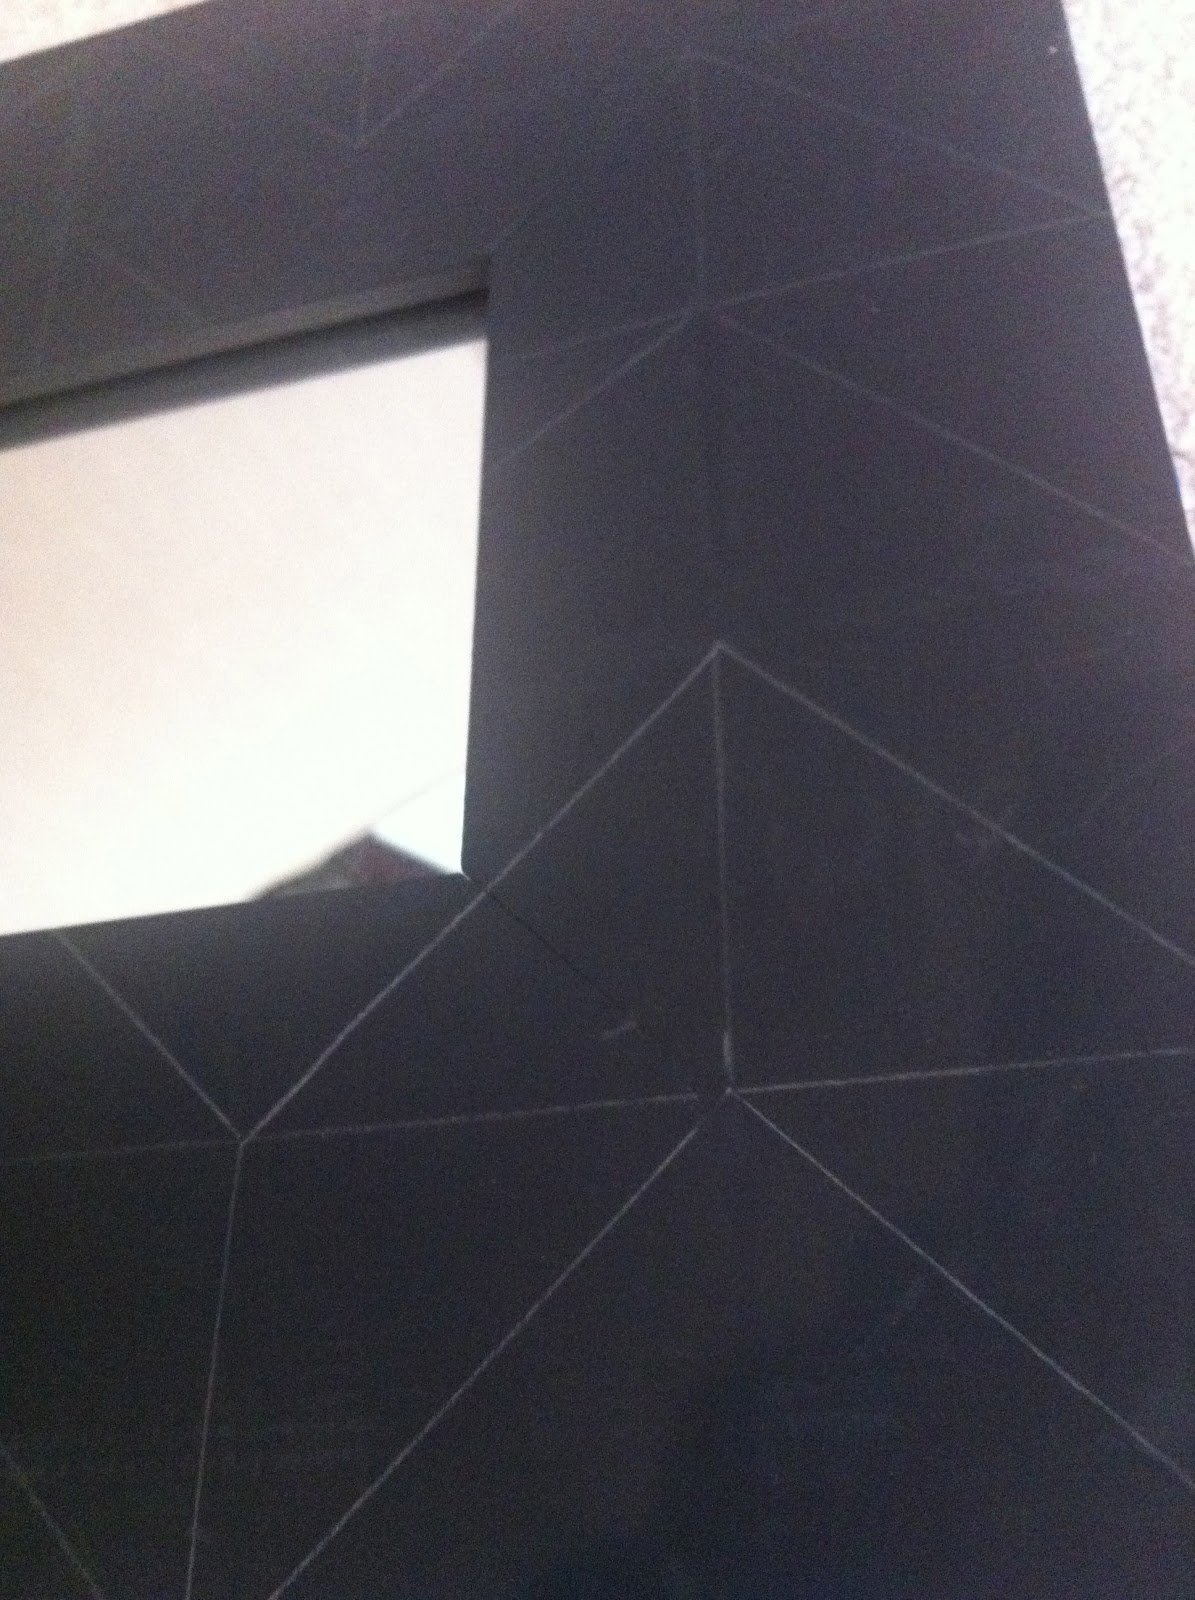
2. I had to draw out my grid (see below for more detail). The mirrors are 10x10" so I decided on a 2"x2" grid, which I just used a pencil and a ruler to create. If you wanted a more steep or more shallow chevron, you could adjust the measurements to suit you. For example, a 2" high by 3 or 4" wide grid would give you a more "shallow" pattern. Then, I drew in the diagonals to create the chevron pattern. Basically I just drew the down diagonal in every square in one row, then the up diagonal in the others, and repeated, taking the diagonal line from one corner of a the square to the other. It was kind of like connecting the dots. It was a little tricky at first, but I got the hang of it and now I'll always remember!

3. Now that my pattern was drawn out, I erased the grid lines through one of my zig-zag stripes because I was going to leave it black, and didn't want the pencil to stay there on the finished product. The grid lines in the other zig-zags didn't matter, because I was going to paint over them. See here?
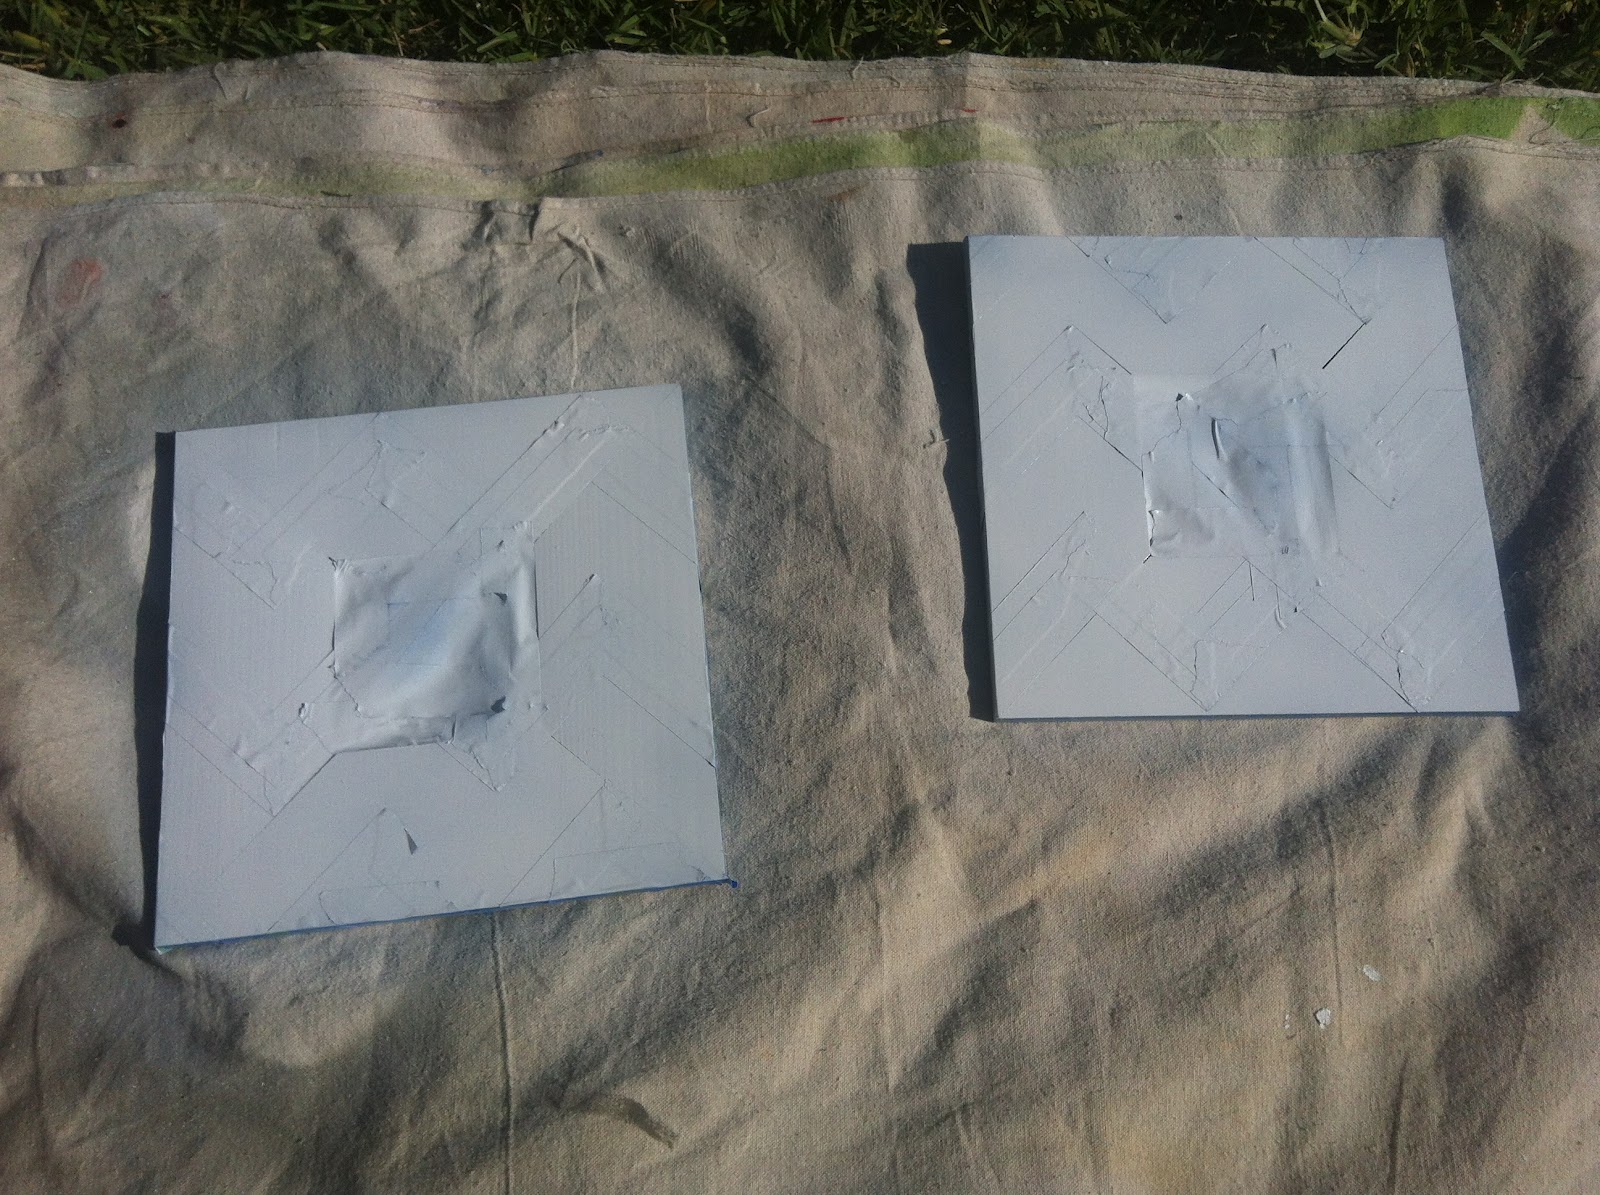
4. The zig-zag with no lines was the one I taped over. The taping was really easy but a little time-consuming, because each of the points needed to be precise (for the most part). If you tear the tape just right, you can simply meet up corners in each of the points of the lines. You can line everything up like I did or you can use your trusty X-ACTO knife to get a nice sharp point where all of the tape meets. It's whatever suits you.
5. I put tape over the mirror in the middle so I didn't get any paint on it since I was going to be spray painting these. I also wanted the edges of the frame to stay black so I taped over those, too.

6. Now all I had to do was paint them! I could already see how they'd turn out, so at this point if I needed to make any adjustments, I could.
7. I took the frames outside to a well-ventilated area and went to work coating them nice and evenly with my white glossy spray paint. Spray painting is possibly my most favorite way to change up pretty much anything! It's fast, easy, and super cheap. I highly recommend Lowe's Valspar spray paints. They come in a million colors and coat really well. I let them dry completely before removing the tape.
8. Once I removed the tape, I distressed the entire thing with screws, keys, sandpaper, banging them around, etc. The sandpaper helped bring out the raw wood around the edges, which I liked, and smoothed out any textural differences between the spray paint and the background. Distressing it gave it a neat look AND made some of the flaws look intentional, like where the tape wasn't perfectly pressed down.
9. I decided to pop out the mirrors from the back because I think I'm going to attach some photo frames onto the middle and put some black and white photos inside. For the moment, they're just framing a piece of my kitchen wall...
There you have it! This entire project from start to finish took me maybe 25 minutes (at most) and gave these frames - and my kitchen wall - a neat little facelift and a fun pop of chevron!